
Hi fellas, I was going through my stash of photos and I realised I haven't posted the WIP pics for the Hyaku Shiki Revised yet! And so, without much ado, here they are! My apologies if there are parts unaccounted for in the pics, as I did not have the time to stop and snap a pic at every step. It was a mad rush to the GBWC finish line! I still have light years to go before my mod skills reach the standard of the pros out there, but if any of you have queries about how I did certain parts that are not illustrated here, feel free to message me. Here goes:

The shoulder armour was a mix of PG Raiser (the plane) parts and Unicorn bits, kit-bashed together with glue and magnets. My objective here was to use the least time-consuming methods to morph the original mecha shape, and in this case kit-bashing proved to be the most viable. As you can see, much of the base kit is still intact. The extra parts are just stick-ons to the original.
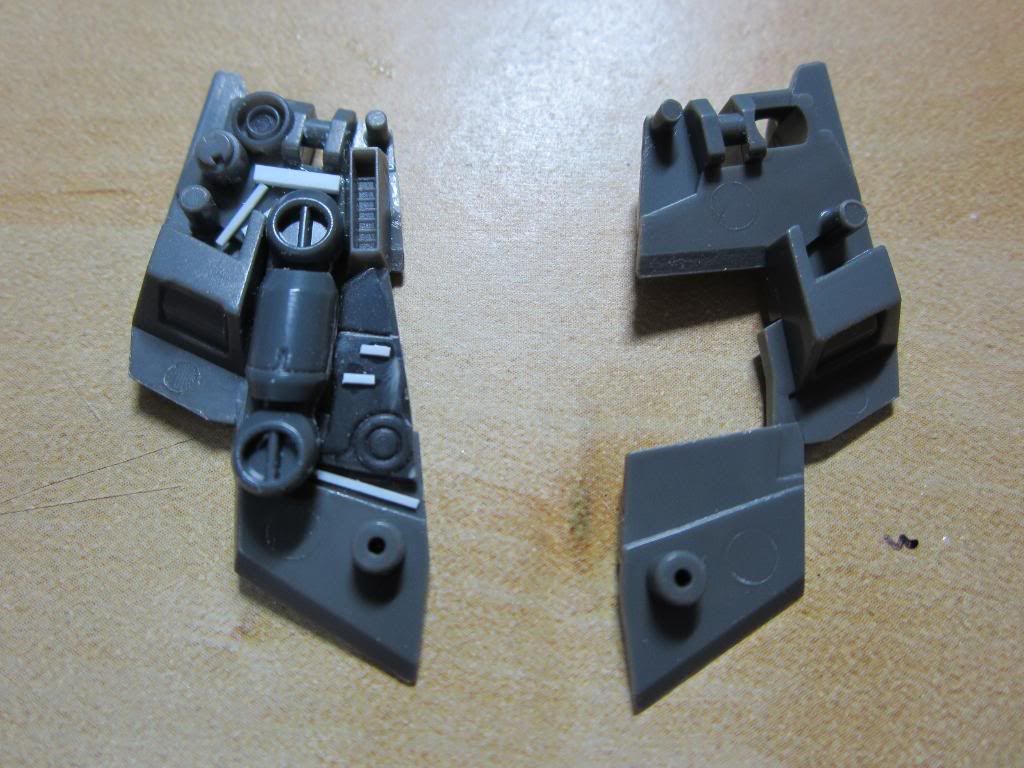
Next comes the fore-arm armour:
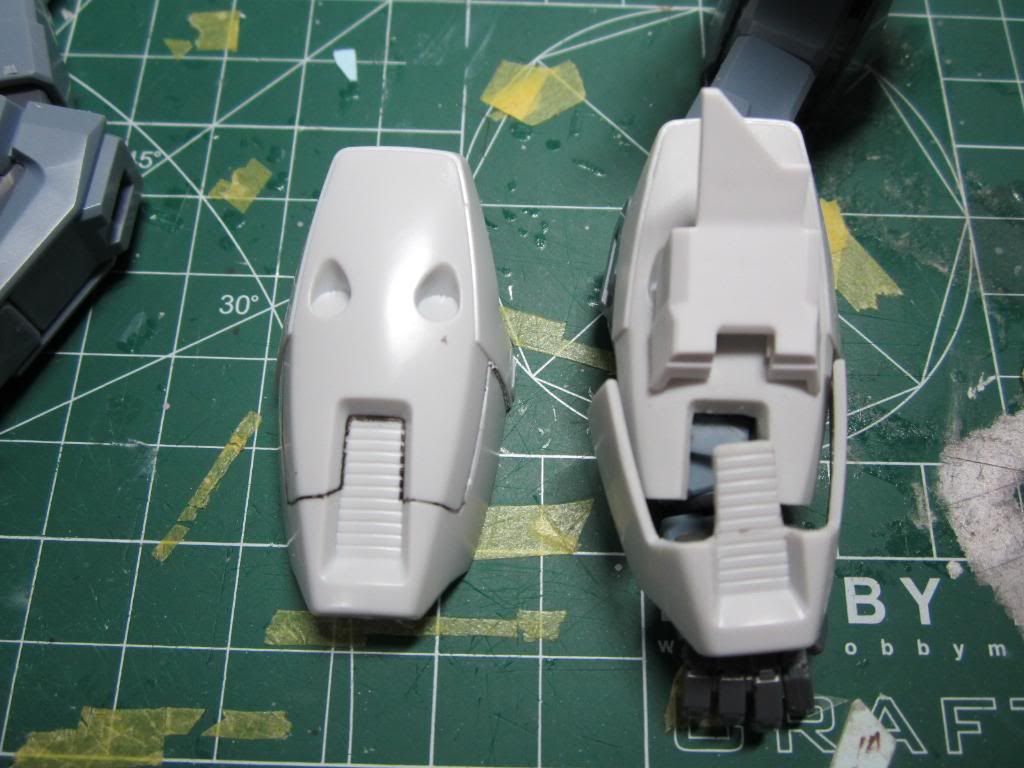
Anyone recognise the original piece on the left? It's from the NG Tallgeese. LOL. I figured since Bandai was probably gonna make an MG version eventually (they better!) I have no real use for the NG kit, so spare parts it shall become!
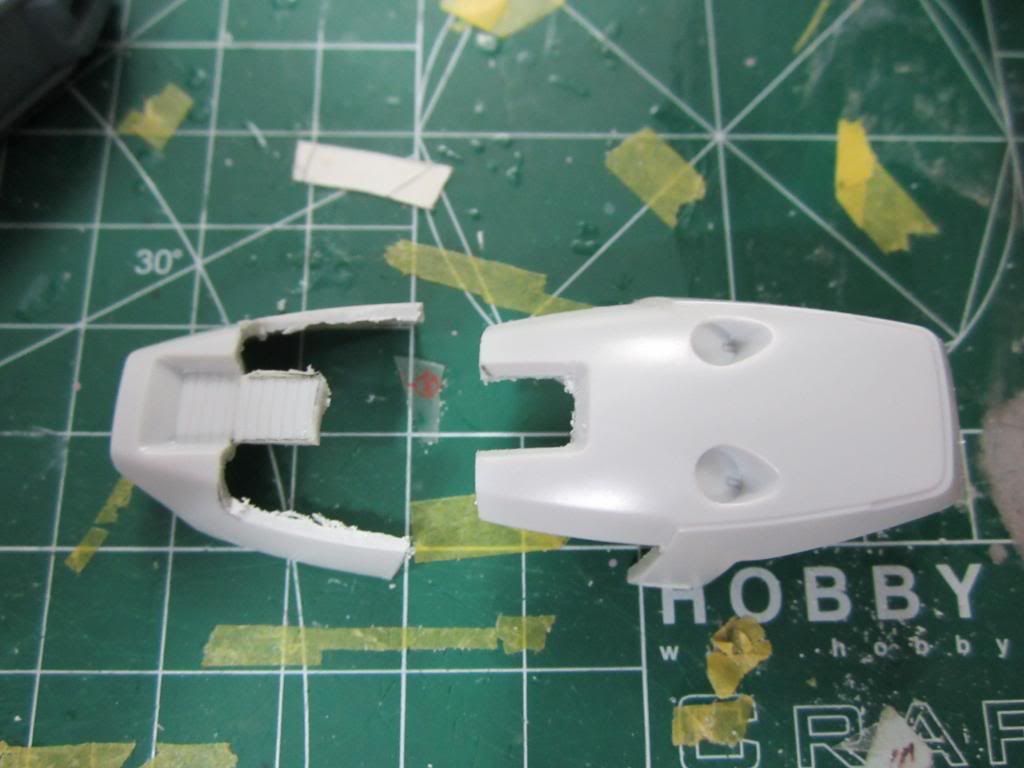
Sometimes you need to break shit up to give it an illusion of complexity. So with a Hasegawa triangle saw, I cut the thing in two along aesthetic lines. Detail it up and smack on a Unicorn spare bit, and it becomes:

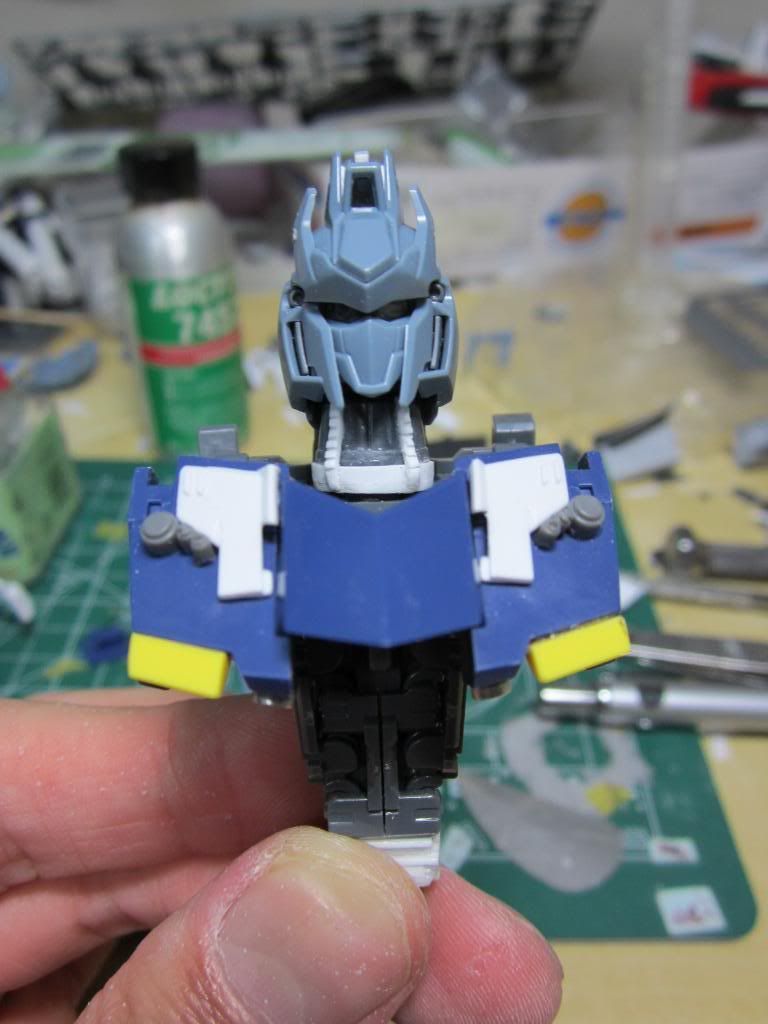
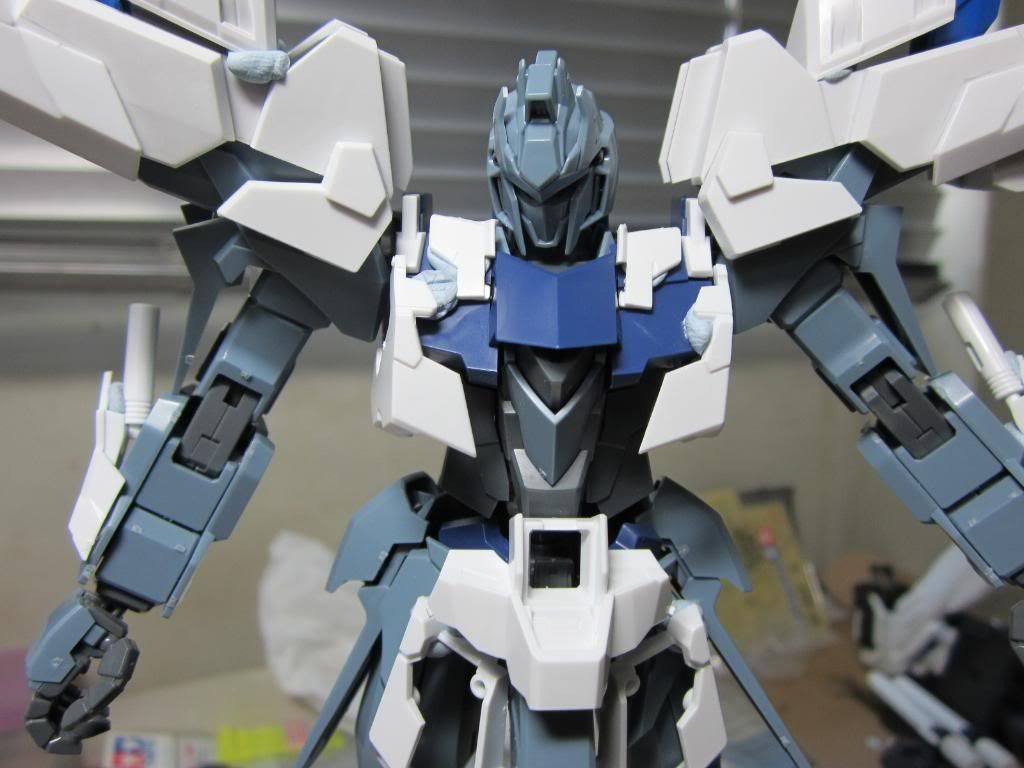
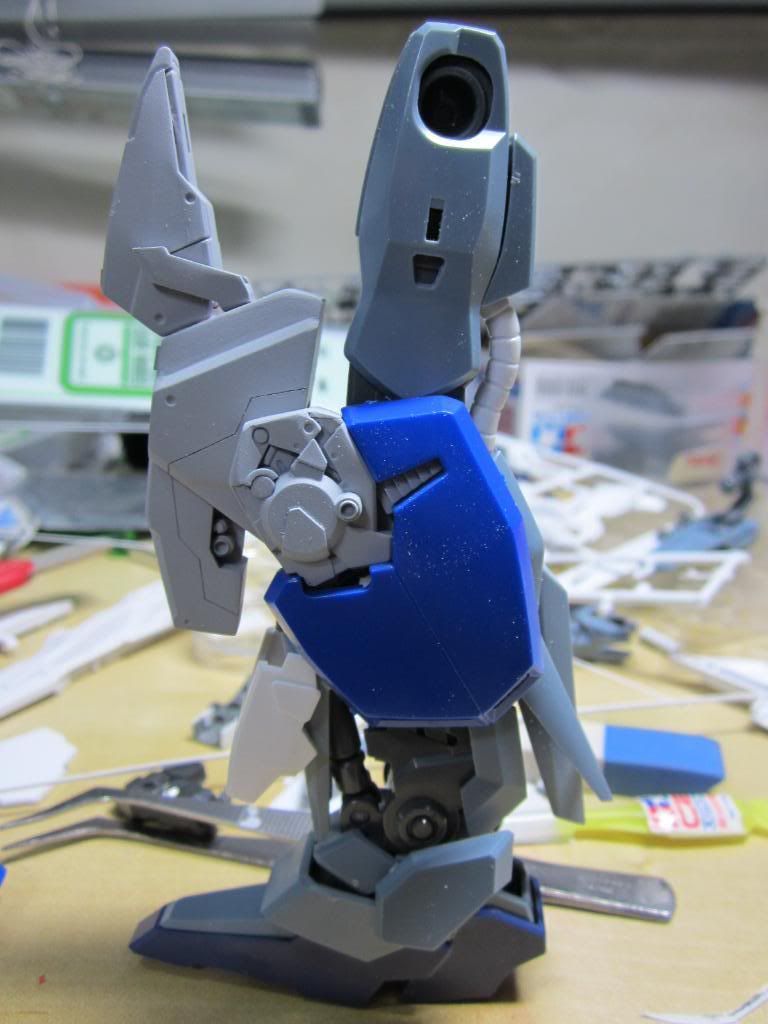
Here's a quick look again at the upper torso, with parts held together by blu-tack. It's better not to glue them together first 'cos you never know when you might change your mind or how you might need to move parts around to make way for each other. As you can see, lots of Unicorn parts added. I find that the Unicorn kit has a lot of universal parts that can be used elsewhere. So stock up on Unicorn if you can find it cheap! lol.
And now to the lower regions:
Skirt armour was done using the back skirt armour of the Unicorn. It was an easy choice because it already came highly detailed, with swivel-flaps to reveal internal details so that saves me much time having to saw open stuff. Even though you won't really be able to see the internals once the whole thing goes up, my hands still got itchy and I decided to juice it up:
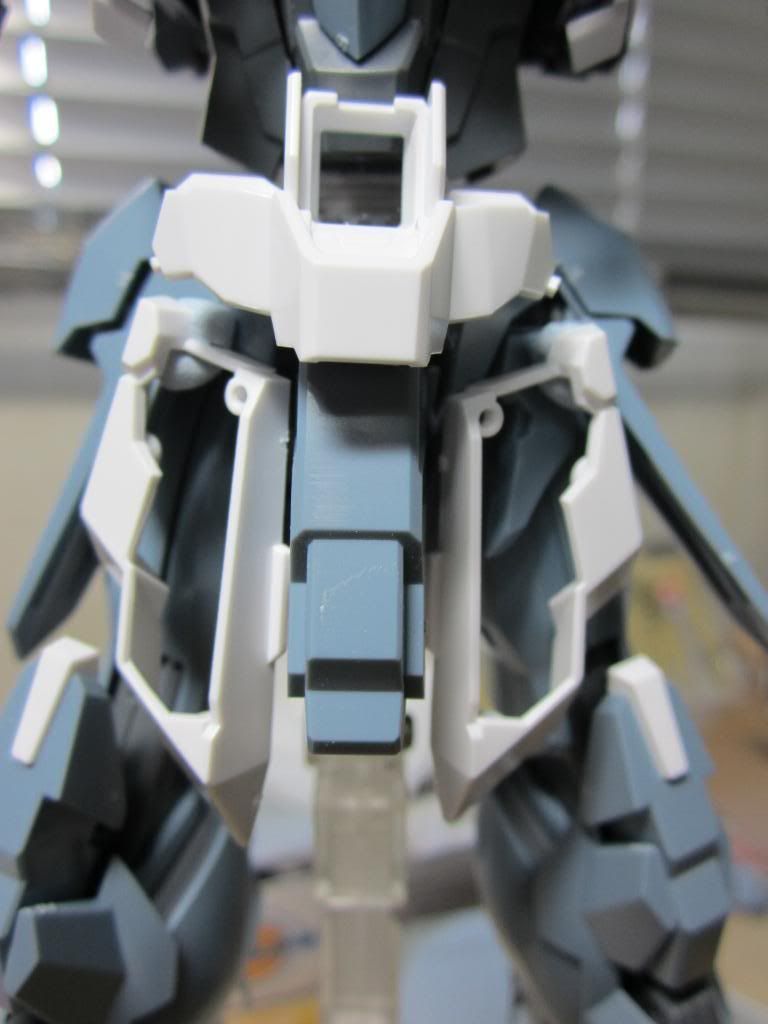
Then some minor sprucing up of the hip skirting:

A bit of pla-plating and bits here, some panel line-scribing there, a hole or two drilled here and we get quite a detailed up look already for the mid-section.

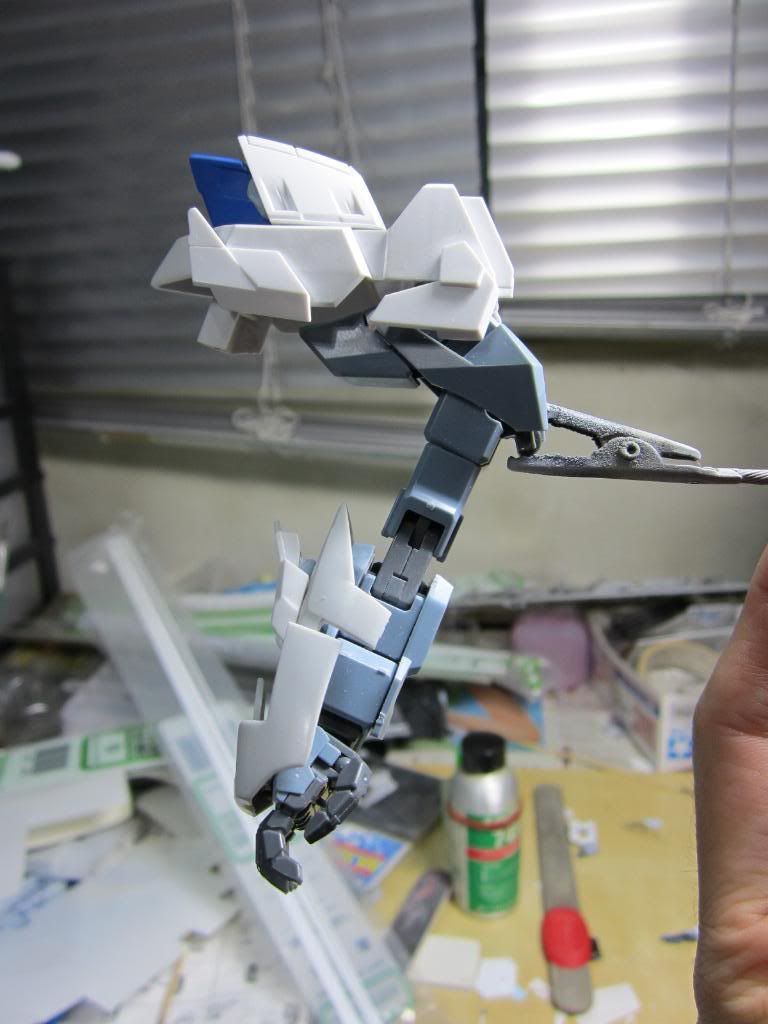
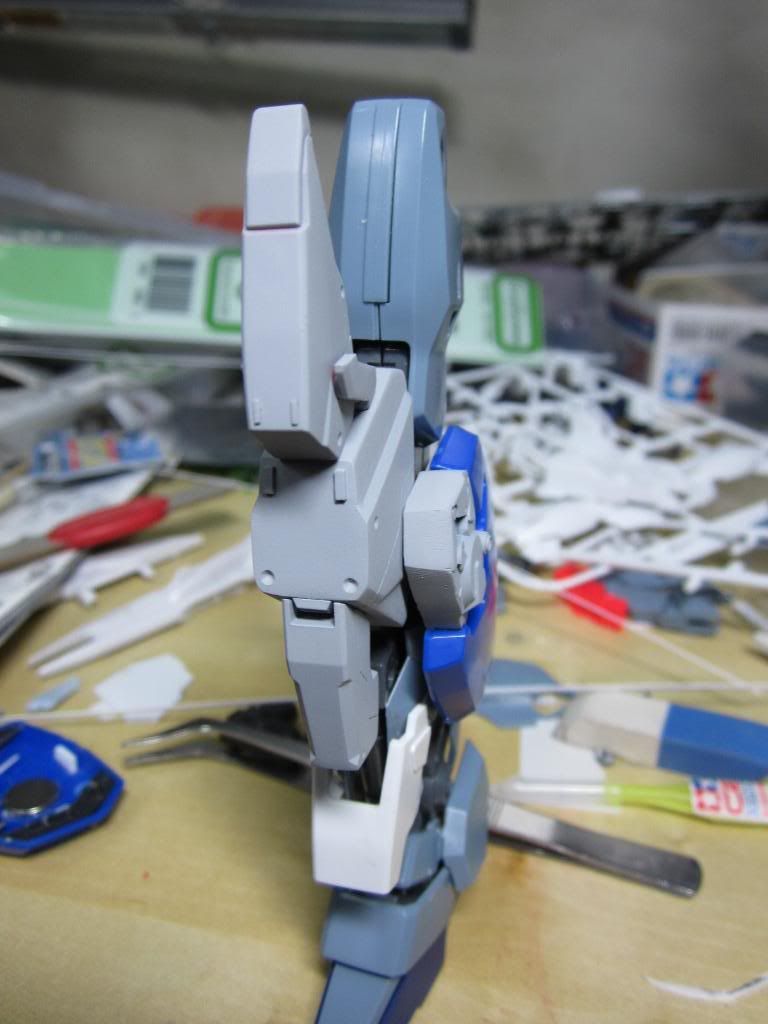
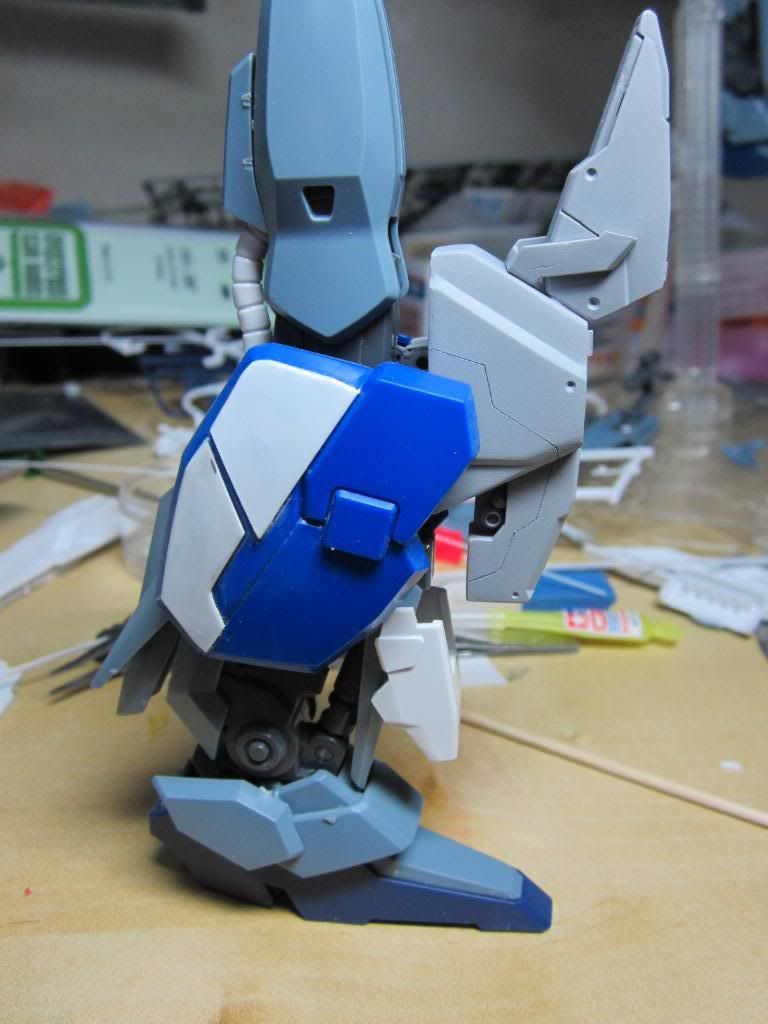
A final test-fitting of the upper torso:

The primed bits on the knee are basically spares once again from PG Raiser, and that little white shin-bit in front is, what else? - Unicorn. lol
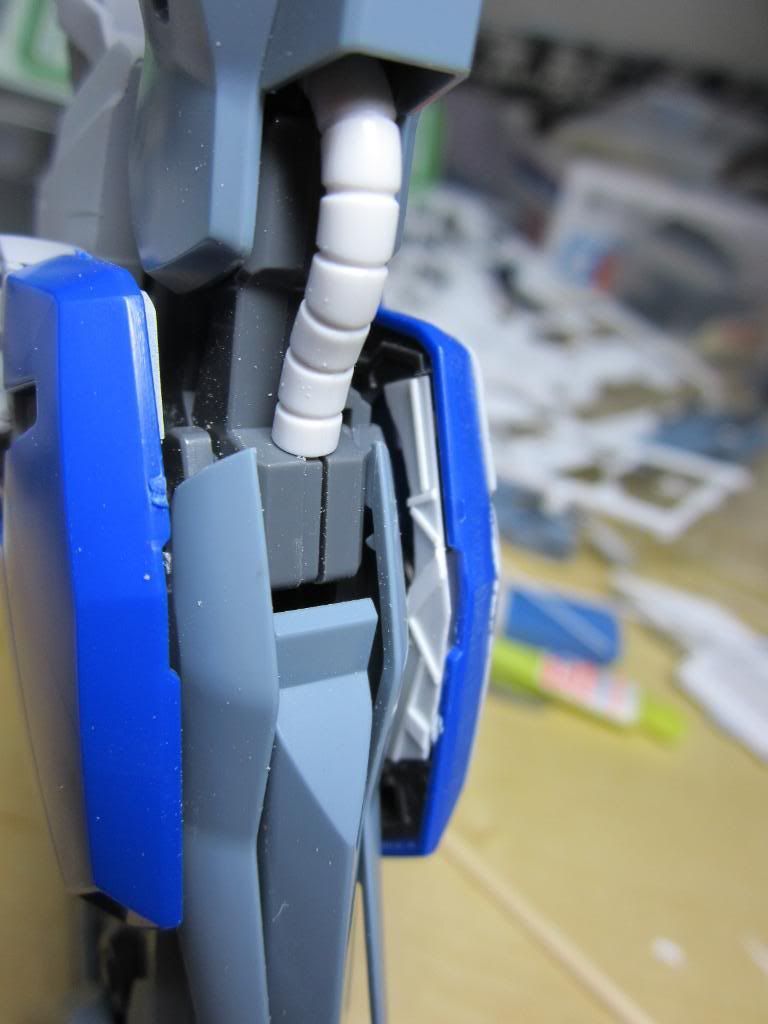
Here's where it gets interesting....I needed to save time engineering and modifying internals so that the EXS armour would fit. In essence, I wanted a way where I could simply smack those babies on and be done with it, yet not compromise on the form and make it look uh...too amateurish. After some fooling around, magnets came to the rescue:
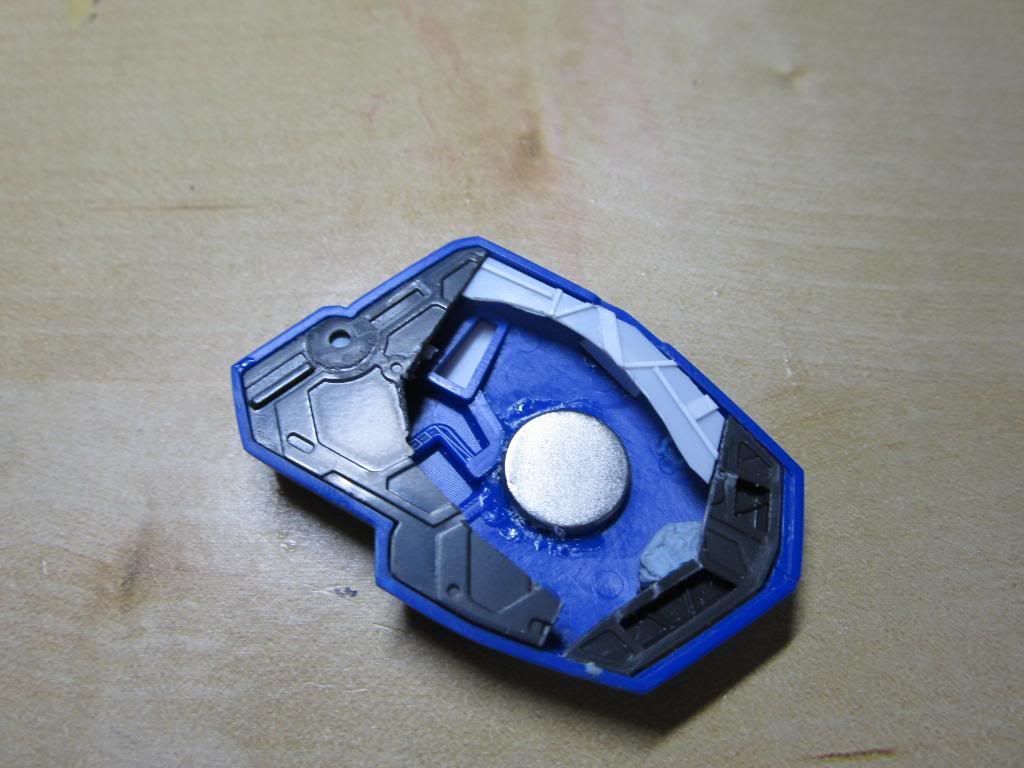
So I cut open the internal armour on the under-side, superglued a magnet into place, and patched up the edges so that you wouldn't see a gaping hole if you peek in between the armour layers.
Pla-plates and styrene strips to mimmick the internal frame pattern.

And how does the internal frame of the LEG, onto which the armour attaches, look like, you ask? Well see for yourself:

And now, the back-pack. It's made from the internal torso frame of a MG Sazabi with its fin-funnel backpack, then attaching EXS boosters in place of the arms.

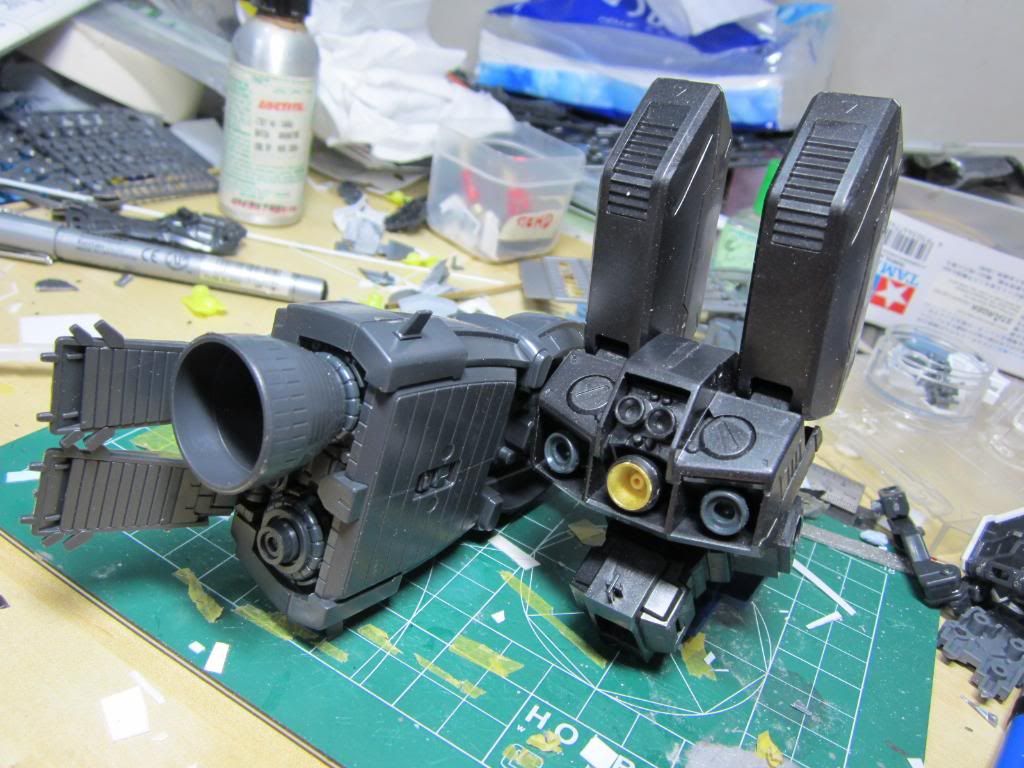
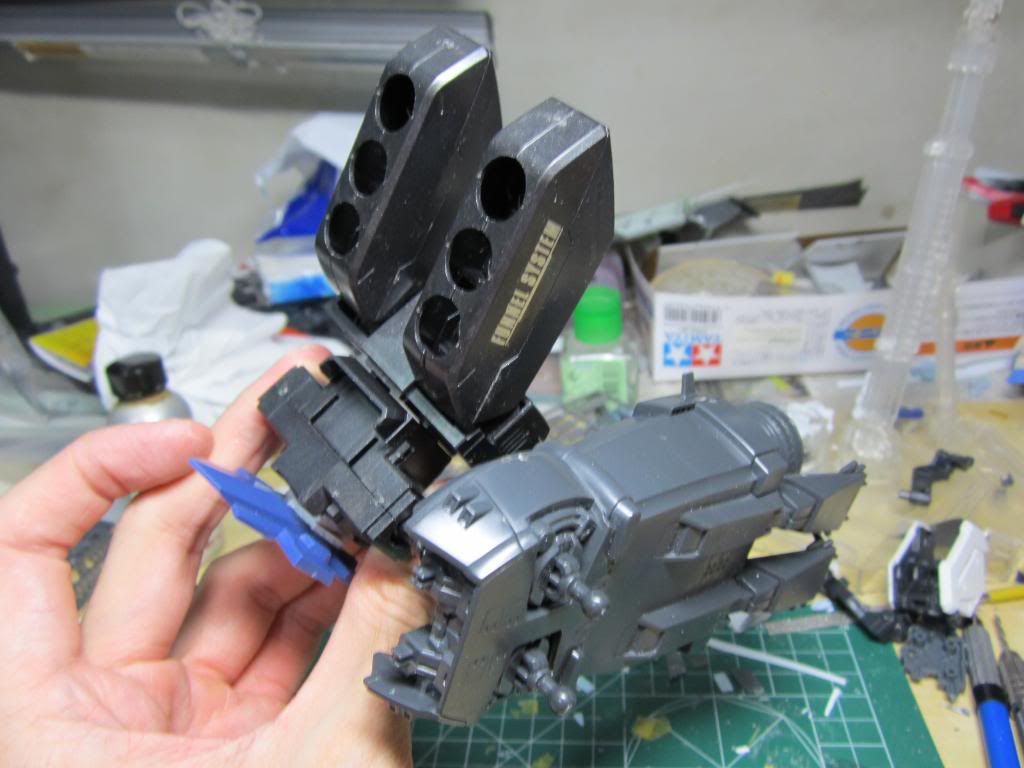
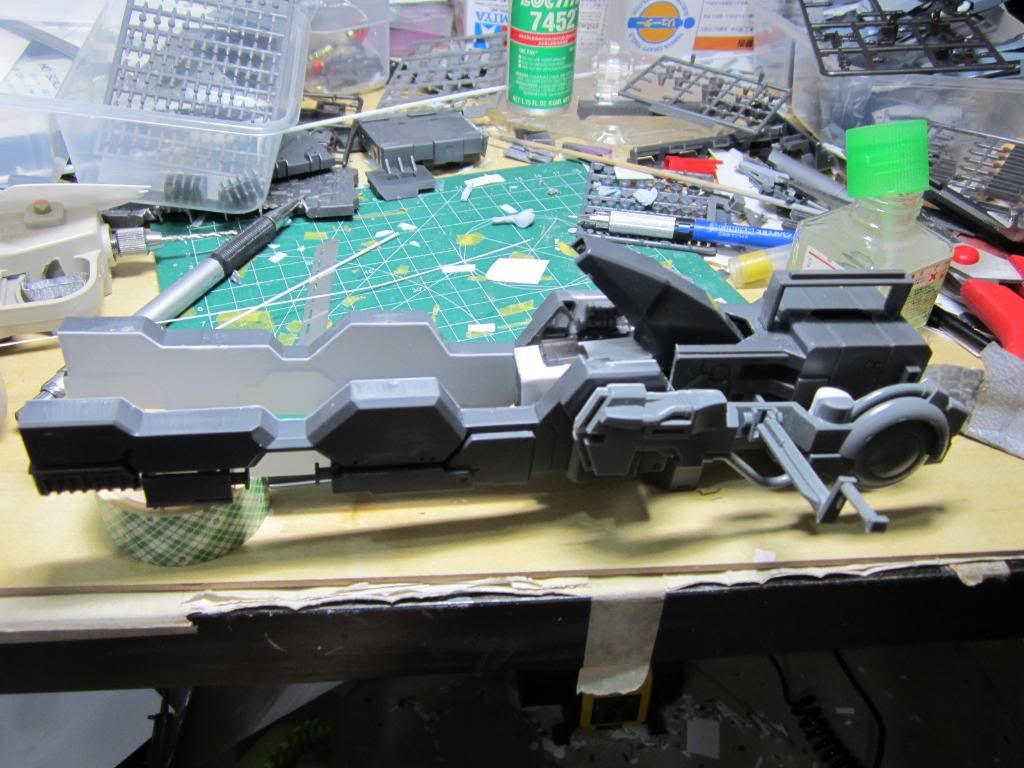
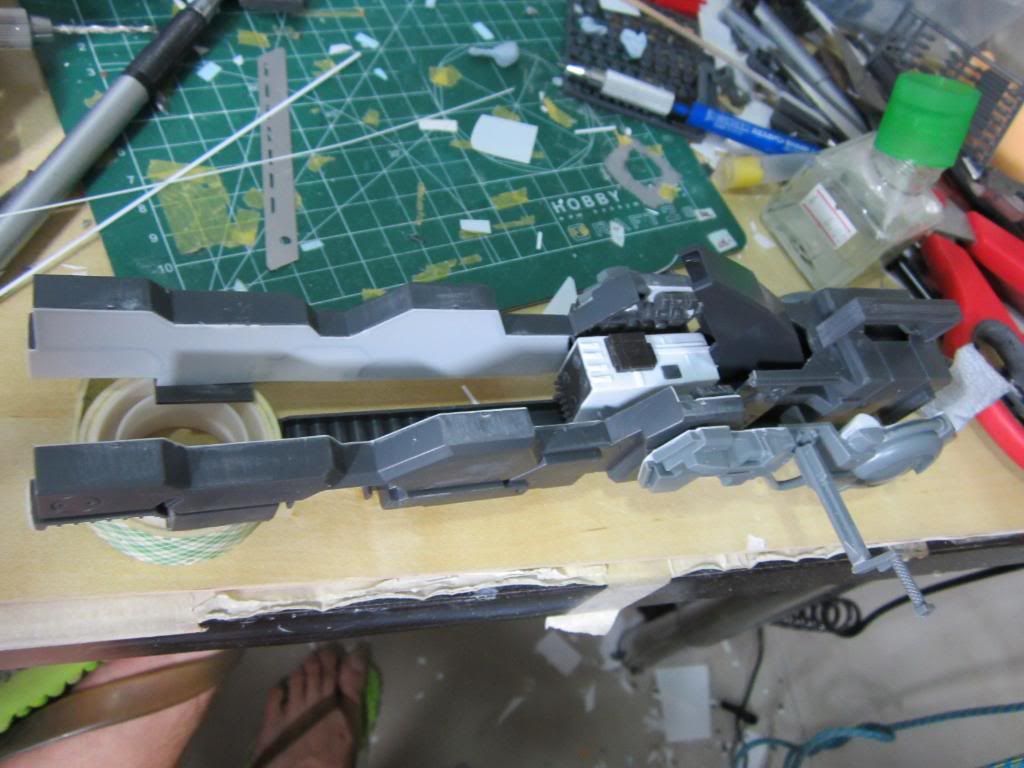
With that done, we come to the final act - The gun! I must admit I had quite a bit of fun doing this:
BEFORE
AFTER
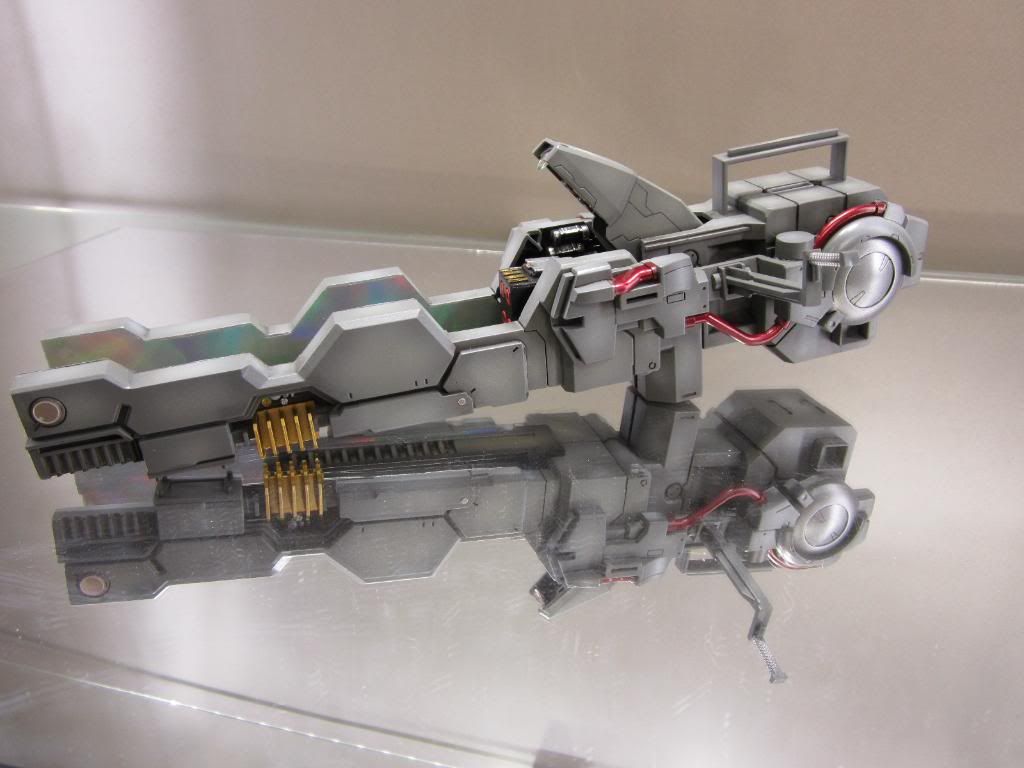
Some minor scratch-building going on there inside 'cos I ran outta parts to bash.
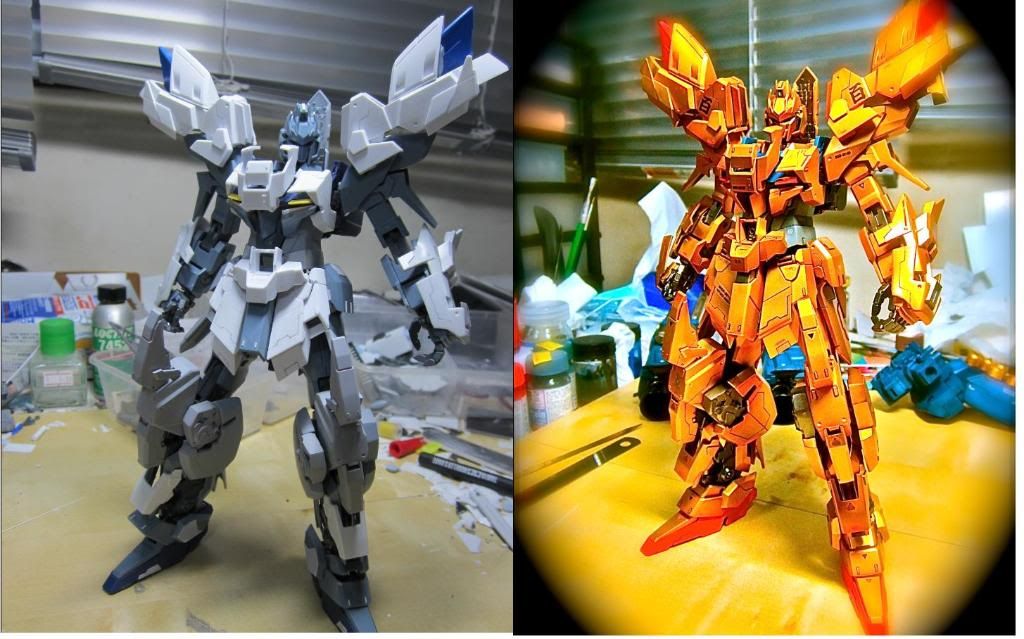
That's about all for the modding process, folks! I hope you made it this far into the post. haha. The rest is basically painting up the monster and rushing like a mad dog to the deadline. I used Gaia starbright gold for the main colour, sprayed onto a black base. No primer. I tend to avoid primers for metallic colours 'cos the black base acts as a good enough substitute, your finish will be smoother, and it saves a helluva time! Then I shaded some edges with a tinge of clear orange just for some depth to the gold.
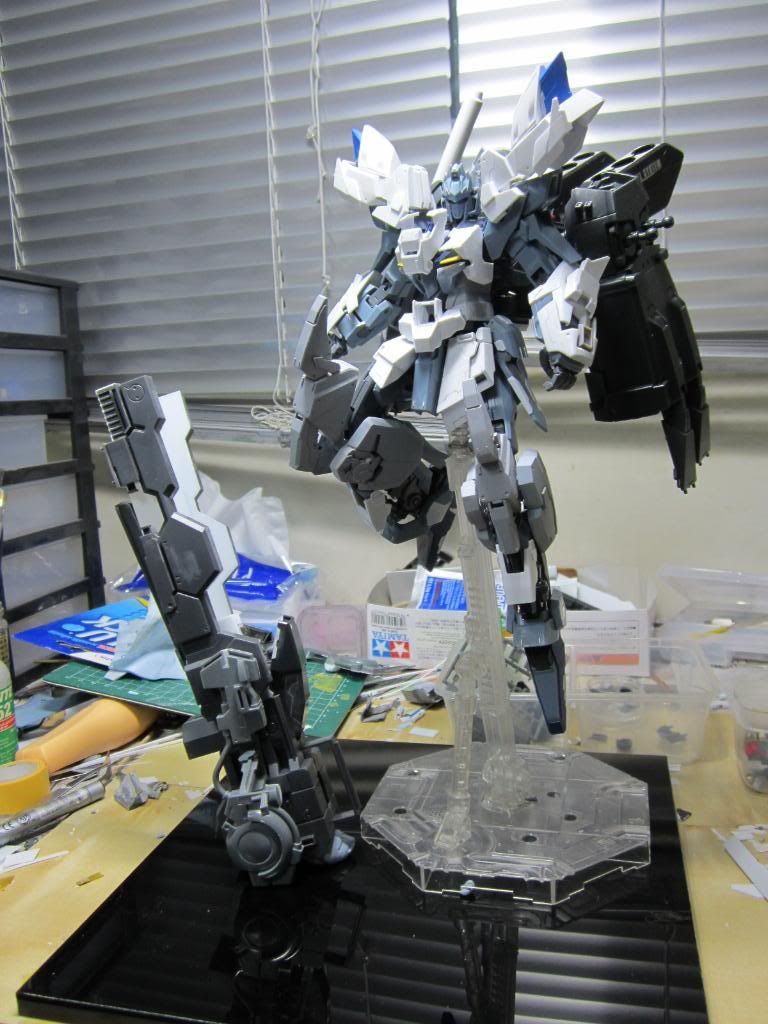
Gauging placement for the final diorama:
Sorry but I only have two pics of the painting process available. These are the parts that gave me the most headaches - Masking! But once that's done and you're unwrapping all those layers of tape, it's like unwrapping a christmas present, I kid you not! To see the different colours come together. Of course, you have to ensure you don't screw up...lol.
Masking for chest vent-plates.

Masking for Swivel vents of boosters.

And at the end of it all, the final work:
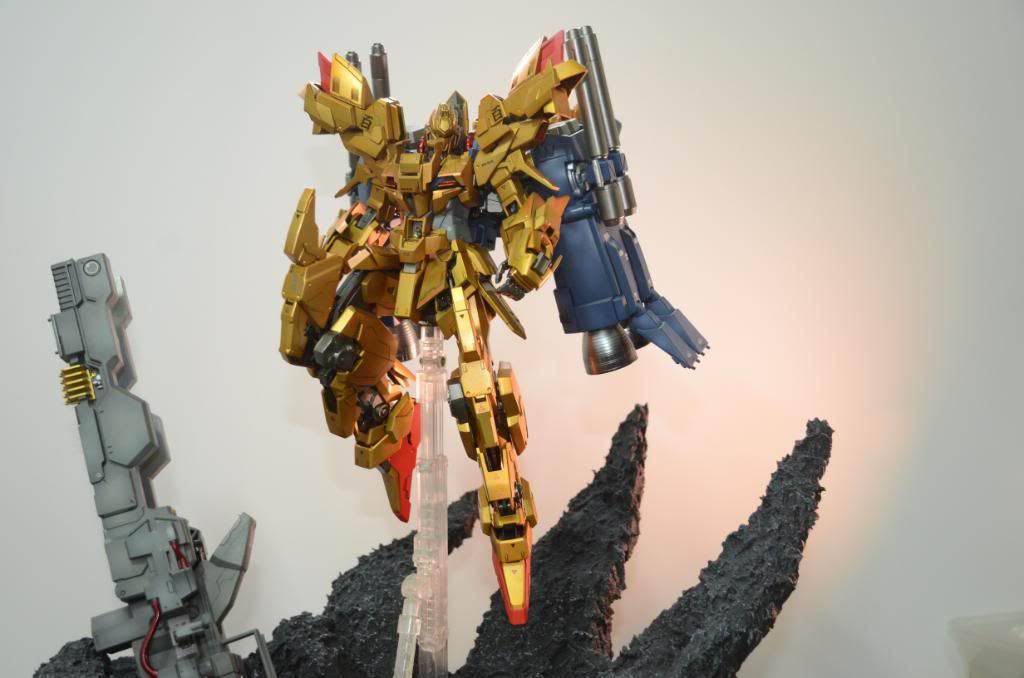
The abstract-rock dio was made using art clay with some resin sand texture thrown into the mix, left for a couple of days to cure, then primed and painted over with black from a Tamiya spray-can, before highlighting with a lighter shade of grey, and finally, capping it all with a dry-brush of white.
That's all there is to it, folks. I hope you liked the presentation and final work. For finished pictures, you can go HERE.
4 comments:
Wow.. i was wondering how many kit you use in this project.. let me list it out.. MG Unicorn, Exs, Sazabi, NG talgeese, this is madness.. and about skipping the priming process for direct black for gold.. do you make any sanding for all surfaces?
Haha yeah bro sometimes madness, with some method, can also work. Anyway other parts will be re-used for other works in future so I don't consider it a waste. As for your qns bout sanding, I only sand down parts where I mod or cut from the runner. Otherwise, no need to sand. Just whack on black. But I use Gaia EX-Black cos it has more biting power. Hope this helps!
"Sometimes you need to break shit up to give it an illusion of complexity."
Quote of the day! Awesome post, thanks for taking the time to put it together!
got it.. i'm thinking of making some gloss looking model next year.. and saw some people use black as one of the black coat.. thanks for the info..
Post a Comment